Pinterest Teachers Pay Teachers Facebook Instagram BlogLovin' Image Map

August 30, 2015

Computer Username and Password Cards for Students


      One thing that I disliked at the beginning of the school year was writing the student's username and password for every single computer program the school had.  It took a lot of time.  As an organized person, I wanted a more organized and cuter way to display the information for each student.  I created these username and password cards for my students.  Using Avery  or Maco labels, a teacher can print out a cute label for each student.  On each label, is an option for the teacher to type out the student's information instead of writing it.  The great thing is it could be saved and used again if the student lost it. 

     Once becoming a librarian, I was in charge of writing the student's Accelerated Reading level on each planner for the entire school.  Again, I wanted a easier and cuter way of displaying the information, so I made labels for that too.  On each label, there is a spot for the student's Reading level or range level, the goal of the week, and the goal for the 6 weeks.

     For example, Julia's range is 4.4-5.4, her goal is one point a week, and her 6 weeks goal is 6 points with an average of 85 percent.  Each 6 weeks, the information changes so I print out new reading levels for the students.  In the library the books are organized by A.R. level, so it's really important students remember their levels.

To go with the different themes, I made a few different ones.

Jungle Theme Computer Labels

Superhero Theme Computer Labels

Western Theme Computer Labels

Bee Theme Computer Labels

Frog Theme Computer Labels

Ocean Theme Computer Labels

Owl Theme Computer Labels

Student Theme Computer Labels


Here are some of the examples of the different computer labels with the different themes.  The text boxes won't show when printing.


                    See the text boxes above.  All computer cards come
                   with text boxes so you can  add the students' information.


August 18, 2015

Library and Teacher Planner


     I've never been one of those teachers that uses a planner.  I did at first, but the planner didn't have much besides the calendar.  This year I decided to make my own library planner for myself and a teacher planner for a few of my friends.  I lost track of how much time I spent making these but it was worth it to have everything you need in one place.

     Each planner is over 200 pages with a color option and black and white option.  The great part about each colored planner is that each page has text boxes, so that a teacher can type anything they would want before printing the planner.  Both planners have editable covers, birthday reminders, and year at a glance pages.  Monthly cover pages, monthly calendar pages, and week at a glance for each week of the year are also included.  After every month, there is a notes page, communication log (teacher planner), and a library fines page (library planner).  To introduce each new section, there's a decorative cover page.  Each planner includes weekly schedule pages, a volunteer list, communication logs, and a maintenance/technology issues log.  Lastly, each planner includes sheets for meeting notes, password reminders, teaching ideas, teaching expenses, and blog ideas.

     The library planner includes budget/account information sheets, vendor lists, book request forms for students and teachers, order ideas, orders placed, and arrival shipment records.  Librarians teach multiple classes a day, so I made 47 different roster pages to include the teacher's name, student's names, student ID numbers, and student accommodations information.  What library planner would be complete without a section for the Scholastic Book Fair?  This section includes a book fair information sheet, information sheet for book fairs 1, 2, 3, and 4, preview schedule for each fair, and a summary information sheet.  Lastly, it's always important to document end of the year information, so end of the year book fines, inventory information, discarded books record, and lost books records are all included in this section.  Finally, collaboration with teacher notes and library ideas sheets are also included with this planner.

     The teacher planner includes a weekly schedule and an early release schedule with a few rosters in case the teacher has more than one class.  On each roster there's room for student name, student ID, and student accommodations/allergies.  Need to keep track of student reading levels, student transportation, and student, parent, and emergency information?  This planner has that too.  Also, keep track of parent conferences with a log to keep track of all the information discussed.  In addition, you will find student book checkout pages, book wish list, and classroom supplies wish list.  Finally, you will get book fair and scholastic pages, teaching ideas pages, to do lists, and field trip/chaperone information.

     I printed my two planners on my Brother printer.  My printer does double sided printing without doing the paper yourself.  Once printed, I took my planners to a place where they do laminating and spiral bounds.  It cost me about 15 dollars to have the front two pages laminated and the good spiral put on.  I made the mistake of putting the flimsy open spiral put on and the front page kept coming off. 

Here's the link to my store if you would like to check out my planners.

My Library Planner

My Teacher Planner
                                

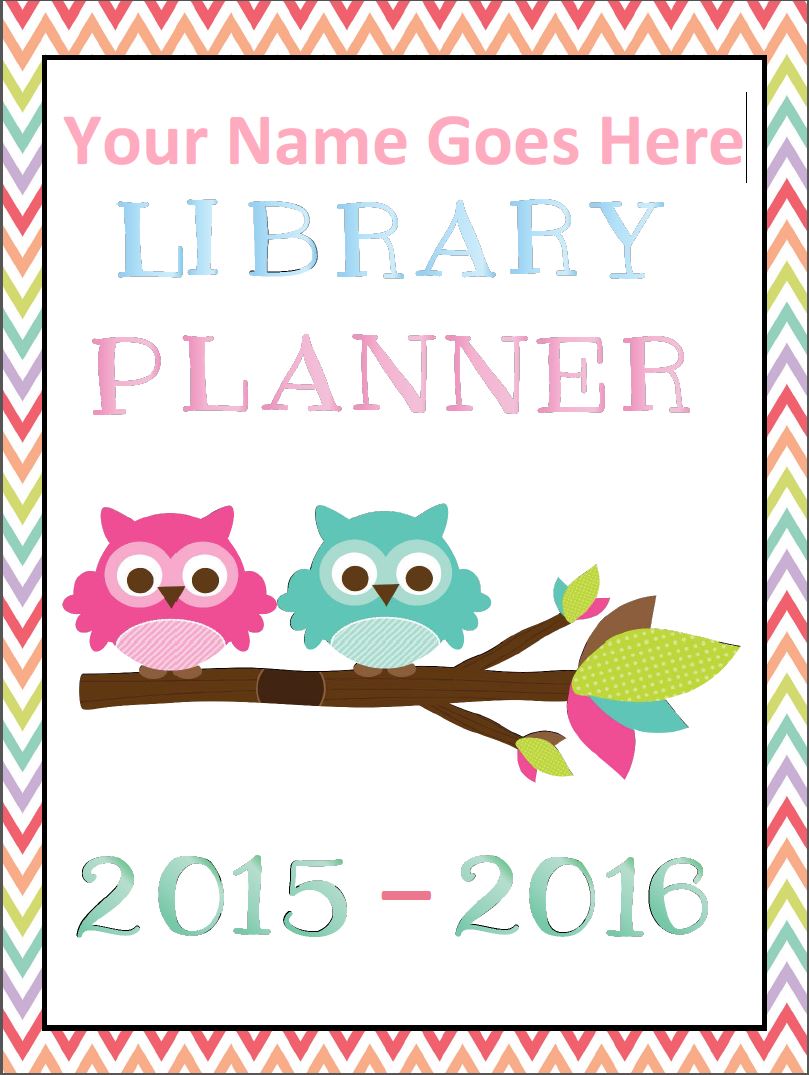
                           The front cover is editable too, so you can type your name before printing.


Here's two pictures of two of the twelve calendars provided in the planner.


Here's a picture of the class roster page with the editable text boxes.      

Notes for the month is provided after every month.
 
 
Student book fines are also provided in the library planner after every month.
 

The budget information and vendor list pages are included with the library planner.


Teaching expenses and sneak peek at my school are provided in both the library and teacher planner.
 

July 31, 2015

Back to School Ideas

     One of my favorite things that I used for my kindergarten and first grade classrooms was a wooden divider panel.  The wooden panel I bought from Home Depot, and I asked them to cut into the sizes I needed.  Each panel is 46 inches wide and 34 inches tall. Once they are finished cutting, I had 4 panels and two smaller panels that I used for my literacy centers and play centers chart.  I placed the panels in between two tables like the pictures shown or two individual desks on each side.   The bendable wooden panel was one big sheet from Home Depot before cutting into the sizes I needed.

     One of the greatest things about the panel is that it really cuts down on the noise level in the classroom.  The students tend to talk to the students next to them instead of in front of them.  Also, the panels are a great tool for centers.  On each side of the board I laminated the longer sheets of construction paper and taped them on each board.  Then I took one strip of the alphabet border and taped it on top.  I made some center labels and taped them to the board too.  Each side of the board is a different color.  For example, in the picture I have purple and pink, green and blue, orange and yellow, and brown and red.

     The students looked at the Literacy Centers Board to see what center or color they were going to for centers.  Each group went to three different centers a day.  By the end of the week, the students went to every center.

     Another perk is that I use the board color for table points.  At the end of the week, the table color with the most points got a extra treasure box prize.

     These panels are very durable.  I've had these for the last 9 years.  Over time, the construction paper does need to be changed due to students writing on it or fading.  To keep the color looking new, I did wipe off pencil and crayon marks every single year. 

Pictures of my kindergarten and first grade classrooms over the years.

 In this picture, you can see the Literacy Center Board in the background.  Half of the board is cut off in the picture by the cart in front of it.   Unfortunately, this is the best picture I have of the Literacy Board.


July 24, 2015

Incentive Charts in the Classroom

    One item that was a must have in my kindergarten and first grade classroom was incentive charts.  Now being a librarian, I also included a way to incorporate incentive charts into my library.

     In my kindergarten or first grade classroom, each student had a behavior incentive chart with their name on it.   Each day when the student was good, I placed a sticker on their incentive chart.  Once the student reached 5 stickers, no matter how long it took them, the student took a trip to the treasure box.  The majority of students went to the treasure box on Friday.  Some students took 6 days, some two weeks, and one or two took a month to go to the treasure box.  Once the student, filled up 4 weeks of stickers, I gave the student the completed incentive chart and replaced it with a new one.

     This year, I'm planning on using my incentive charts in the library.  Some classes have a problem following directions in the library.   Basically, the same rules apply.  Once a class behaves, for a total of 5 weeks, then the class gets to go to the treasure box or picks some other library incentive. 
 
   The incentive charts are a great way for students, teachers, staff, and parents to keep track of their behavior in the classroom or somewhere else.

     If you like the idea above, please check out my TPT store, where I have a variety of different incentive charts a teacher can use in their classroom.


     If you have any ideas on how to use the incentive charts in the classroom, please post below.


July 14, 2015

Teachers Pay Teachers Conference 2015


     I just recently got back from a two day conference in Vegas.  I had such a great time!  I'm also linking up with The Elementary Entourage to share my experience.
     The Teachers Pay Teachers Conference took place on July 9th and 10th.   I was a little reluctant to go due to the conference fee, flight, and hotel costs, but I'm really glad I did.  I learned so much from my 4 day trip to Vegas.  I'm a very independent person, but I have to admit it was a little weird to go somewhere by myself.  Luckily, I wasn't by myself very long.

Cool Kids Meet and Greet in Vegas
     Before the conference even started, there were two meet-ups that were scheduled a day before the conference along with a few more that I didn't go to.  The first one I went to was the Cool Kids Meet and Greet.  The meet and greet was at the B&B Burger and Beer restaurant at the Venetian and hosted by Kayse and Literary Sherri.
     Luckily, I was one of the first 30 people there, so I got to pick where I was sitting.  There was around 100 people that went.  It was the perfect amount of people because you really got a chance to talk to people at your table and walk around to introduce yourself to other sellers.

Teacher/Blogger Meet-Up 
     As soon as the Cool Kids Meet and Greet was finished, it was time to go to the Teacher/Blogger Meet-Up.  The Meet-Up was held at the Venetian with 1100 teachers/bloggers in attendance.  Being a shy person, I have to say it was a bit overwhelming, and I was glad to have a group of friends that I met beforehand going with me.  The evening was very informal with drinks and a place to make friends.  I have to say the organizers did a great job with organizing this event with over 50,000 dollars worth of prizes that they gave away.  Even though I didn't win one of the bigger prizes, I still got some swag.  Each person got a bag full of goodies, and each person that didn't win, received a bulletin board set for their classroom.

TpT Conference Thursday
     The day started with a networking opportunity.  Each attendee got to pick which networking room they wanted to join, by grade level or interest.  The options were pre-k and k, grades 1st-2nd, grades 3rd-5th, grades 6th-12th, and International, clip art, special education, foreign language, and homeschool.  Since most of my background is from k-2, I went to grades 1st-2nd.  What I liked about this networking opportunity is that this was an opportunity to make connections with teachers teaching similar grade levels.  I met numerous teachers from around the country and discussed different topics ranging from Teachers Pay Teachers, Common Core, teaching strategies, and etc.

TpT Welcome and Sessions
     Tpt started off the conference with introducing the attendees to all of the TpT staff.  As attendees, we learned more about the company and where the company is going in the next year.  The welcome was a short presentation leaving the main event for next morning.

     I attended the Fix Your Brand and Take Your Store to the Next Level, Blogging Panel, and Advanced Marketing Panel.  All the classes were very beneficial to helping my TpT store in the long run.  Not only did the classes cover TpT related material, but information on Blogger, Facebook, Pinterest, Instagram, and Twitter.

Secondary Meet and Greet
     After the conference on Thursday there was a meet-up for all secondary teachers, but it was open for all as well.  This meet up was held at one of the restaurants at the Venetian.  Again, it was very informal with teachers just networking with other teachers. 

TpT Conference Friday (Keynote and Sessions)
     TpT started the day with a free continental breakfast for everyone before the Keynote Presentation.  Once the breakfast was over, all 1100 of us went in for the Keynote Presentation.  We heard from the founder, CEO, Director of Seller Happiness, and Rachel Lynette.  Every speaker was amazing.  We heard how TpT got started and where they plan on going in the future, but the best speaker was Rachel Lynette.  She shared her amazing story on how she got started by answering an ad on Craigslist.   She needed extra income to help her two kids.  Almost 9 years later, she's one of the top sellers, and an inspiration to us all.

     On Friday, I attended Unlock the Code-Secrets of Seller Success, Did I REALLY Sell That? Improving Out Products With a Critical Eye, TpT Marketing: Do This, Not That, and From Teacher to Teacherpreneur.  I really enjoyed all of my sessions, and I learned a lot from each of them.  What I did learn from each of my sessions, is to be myself, be original with my products, and take time for yourself too.

     I was so lucky to be able to meet Deanna Jump, DeeDee Wills, and Rachel Lynette.  It's been a dream of mine to meet all of them, especially Deanna Jump.  I'm so thankful that they took the time to meet with all of their fans like me.


     I especailly loved From Teacher to Teacherpreneur presented by Erin Cobb from Lovin Lit.  She was too funny, and she had a lot of great advice.  I also loved the Seller Planner she gave to each attendee.

Closing Remarks
     I was really sad once the conference was over, but luckily, I had TpT Happy Hour and the Primary Meet and Greet left. 

     I had an amazing time in Vegas, with very little time to explore, which was a good thing.  If you are just starting out with TpT or have been selling for awhile, I would recommend that you should go to the conference in 2016.  If I'm free, I will be going for sure!

 Me, (The Traveling Educator) First Grade Roars, and  A Traveled Teacher
                   Evil Math Wizard, Me, (The Traveling Educator)
                  Little School the Range, and Making Meaning With Melissa


June 28, 2015

Whole Wide World 2 App

                         
     As I continue my search for apps to use in a classroom or in my library, I found Whole Wide World 2 App.  Whole Wide World 2 is a social studies app for elementary students.  The app can either be purchased for 4.99, or the app is free with additional purchases later.  I downloaded the free version.  With the free version, the student can explore up to 4 countries.  The countries are Australia, China, Egypt, and Iceland.  As you load the game, the student must pick a traveler to explore the countries with.
     The goal of the game is to collect passports for your scrapbook.  To obtain passports, the student needs to go to one of the free countries listed above, and play multiple games about that country.  Each country has different games.  For Egypt, the goal of the game is to find letters to match the word.  For example, one of the words is Nile.  Once the student finds the letters to make the word Nile, then your traveler explains the word Nile in regards to the country.  Once you collect enough information or postcards, the student plays one last game to collect the passport to that country.  The good thing about this app is once a student finishes all of the games for a particular country, it can be played again by a different student. 

     In addition to the four free countries, an adult can purchase up to 8 more countries.  Each country is an additional .99 cents and the multi-pack is 2.99. 

     If you are looking for a social students app for students to learn about different countries, then check out this app on iTunes.

Thanks for reading,

Laura


June 15, 2015

Quiver Vision- A 3D Coloring App


     I don't normally get excited over a kids app, but I did for Quiver Vision.  This summer I'm researching apps that I can put on my two iPads for next school year.  A few months back I went to a librarian training, and the speaker mentioned this app.  I never had time to check it out until now.  Quiver Vision is an app you can use on your phone or iPad.  The app is free to download, but you do need a backward-facing camera on your phone or tablet.  In addition, you need a printer, paper, and colored pencils.   This app is great for all age types, and even adults will get a kick out of it. 

     The first step is to go to www.quivervision.com to download the app.  Once you have the app, you can scroll through the coloring pages they have online.  I always click on the free coloring pages.  Once you find a coloring page you like, color it.  Once finished, you open up the app, scan the coloring page, and the animation will come up.  For my coloring page, I picked the bird shown above.  I colored my page and added my last name on the bird to see what would happen.  Once scanned, the bird will walk around and eat a worm. 

It's really cool that something that you colored can come to life like it does.  Quiver Vision has many coloring pages to pick from including education coloring pages. 

Here you will find a few photos that I took of the animation and a video.